Nextcloud Installation and Guidance
Nextcloud application functionally is similar to Dropbox, Office 365, Google Drive, But it's open-source application.
STEP1:
If your server is centos 8 then you should purchase the centos 7 server and provide the SSH login details of the centos 7 server (Documentation server login details) to install the Nextcloud and Only office on centos 7 server.
If you are using centos 7 server then NextClould will install in the same server, but for Only office install you need to purchase another centos 7 server. To install Nextcloud and Only office need to provide ssh login details of another server.
Provide the Documentation server Login credentials to set up the Onlyoffice and Nextcloud.

STEP 2: Once we start the Install, Now you see the below mention pages. which means Nextcloud Installation is in process.

STEP 3: Now Nextcloud installation is get completed, follow the Notice to integrated the Onlyoffice in Nextcloud.

STEP 4:
After installation, login to the centos 7 server where next cloud installed and click on “Launch Cloud office” after that run the “cat /root/zadmin_passwords.txt” in ssh and get the login details after that login the cloud office by entering the login details.
For Onlyoffice click on the “settings” option in the right side of the dashboard.

STEP 5: 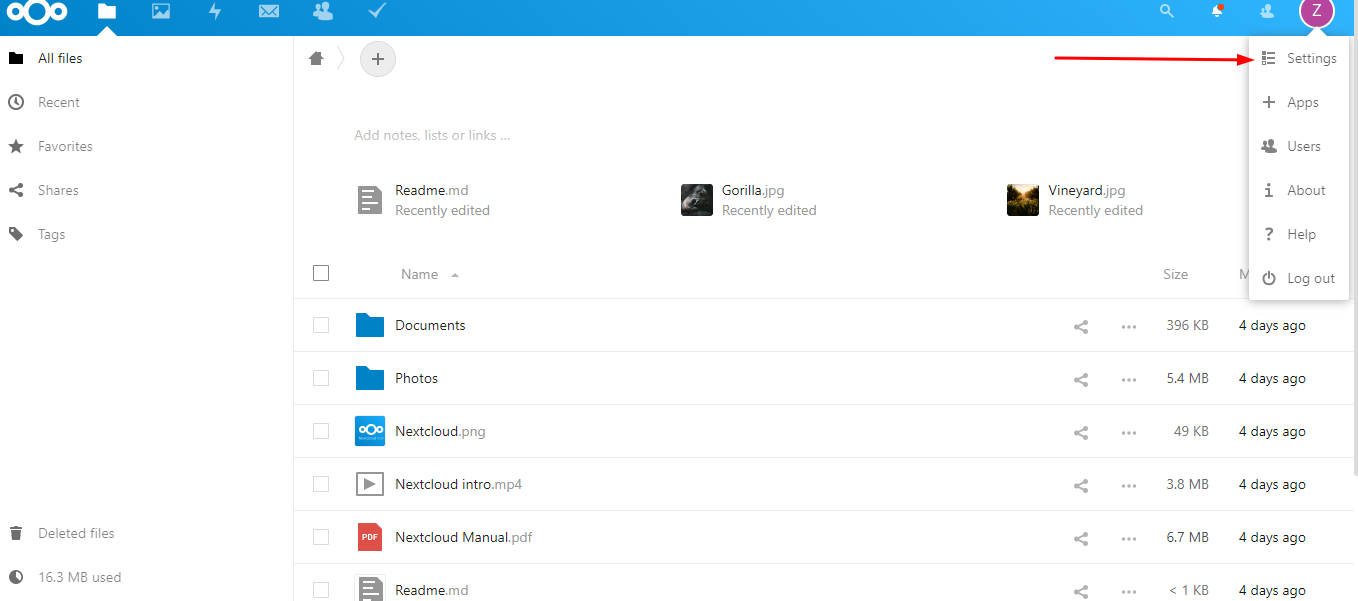
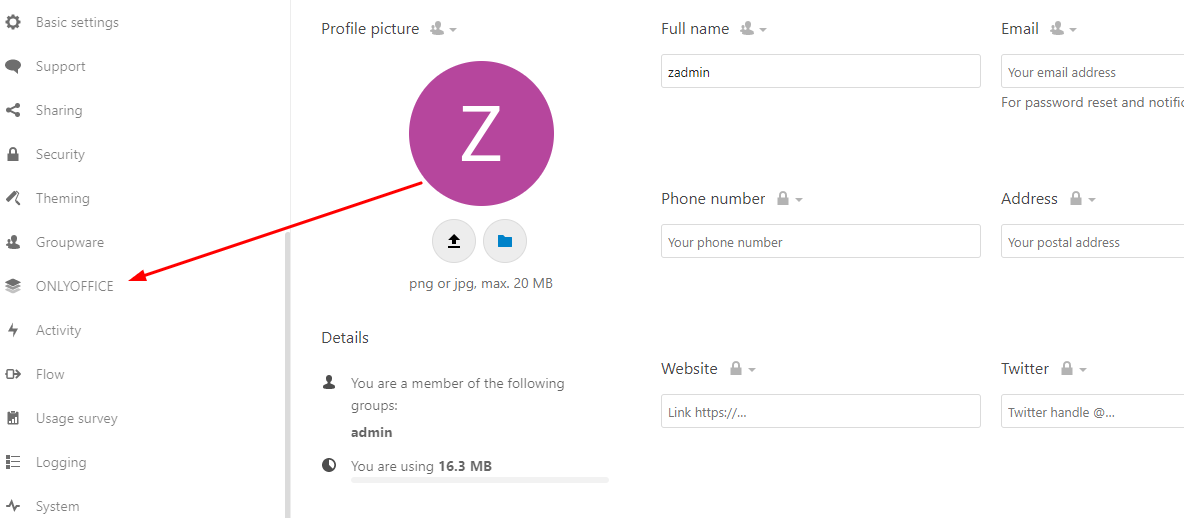
STEP 6: click the ONLYOFFICE option
STEP 7: Check the only office document server get access your document server URL ( eg: http://123.xx.21.xx )

STEP 8: provide the Document server IP address ( eg: http://123.xx.21.xx )

STEP 9: click the save option.

STEP 10: Select default Application for Only office such as doc, pptx, sheet etc.

STEP 11: Now you can create the Doc, spreadsheet etc., Provide the name and create it.
